
 DC SOLAR SUBMERSIBLE PUMP
 AC/DC Solar submersible Pump
 DC Solar Surface Pump
 AC/DC solar surface Pump
 Solar swimming Pool Pump
 Built-in Controller Solar Pump
 Solar Pump inverter
 Pump Accessories


 Mr Youkee Kong


How to Install a Solar Submersible Pump: Complete Step-by-Step Guide (With Wiring Diagram)
Concise Installation Guide · Off-Grid Water Systems
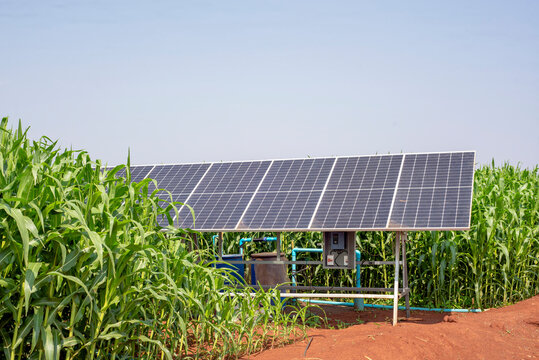
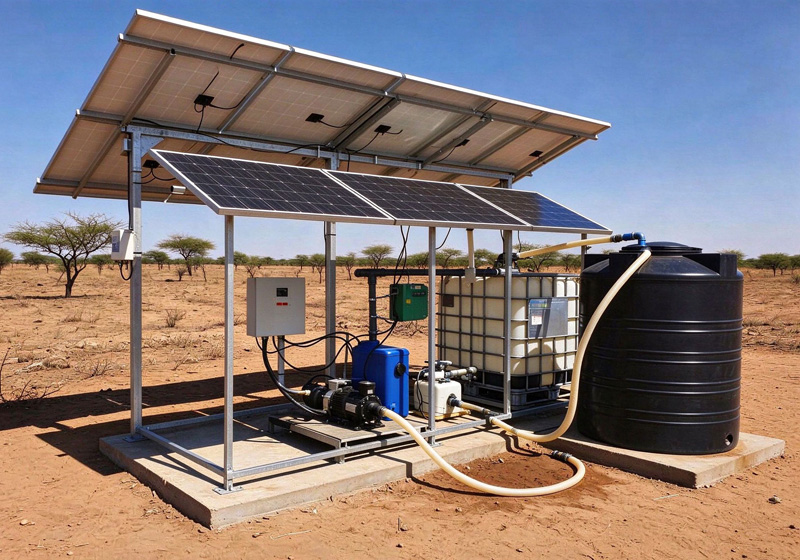
A complete off-grid solar pumping installation: PV array, borehole and delivery water.
1. Size before you buy
Read the well
Get the driller's log. Record well depth/casing, static water level (SWL), dynamic water level (DWL) under pumping, and sustainable well yield (never size above it). Note TDS, pH and sediment.
2. Tools and materials
Tools: multimeter, non-contact voltage tester, clamp meter, insulated screwdrivers, crimp tool, heat gun, pipe wrenches, tripod hoist, well sounder, calibrated bucket. Materials: pump matched to TDH, MPPT controller, submersible drop cable, panels + rack, MC4 connectors, HDPE drop pipe, brass check valve, stainless safety cable, DC disconnect, Type-2 SPD, IP65 junction boxes, 8 ft grounding rod, and a float/water-level sensor for dry-run protection.
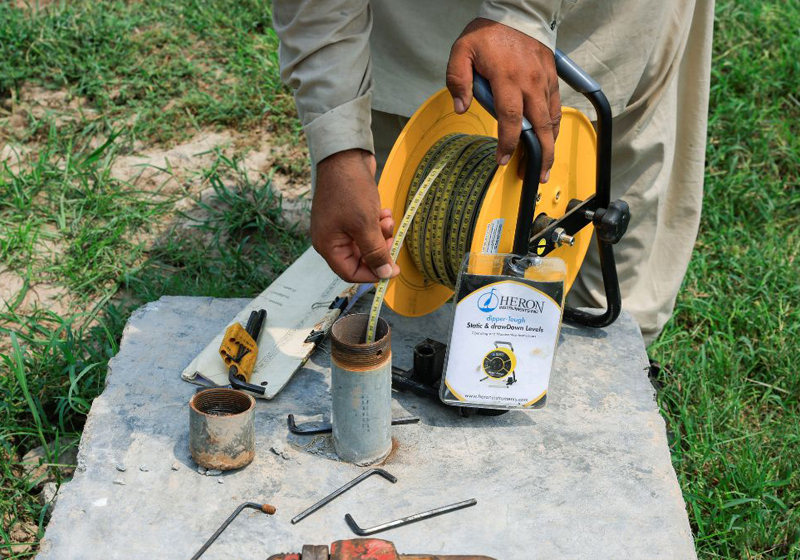 Site assessment: measuring SWL and DWL before sizing.
3. Safety and certifications
PV panels are live the moment light hits them. Keep them covered during wiring, use insulated tools, and never break a loaded DC connection. Lowering a pump is a two-person job over an open hole — use a tripod and harness.
Motor must be continuously submersible. Non-negotiable.
Pump safety (NA / EU-Intl).
Safety of the PV converter / controller.
Complete PV pumping set design and performance.
Low-voltage wiring and earthing.
Required if water is for drinking.
4. Installation steps
1) Rack and wire the array. Panels at latitude tilt, equator-facing, grounded to an 8 ft rod with 6–10 AWG Cu. Wire in series until Voc matches the controller's DC input; use a fused combiner for parallel strings. Verify Voc and polarity.
2) Mount the controller. Put the MPPT in a shaded, ventilated IP65 enclosure with 15 cm clearance. Add a DC disconnect (125% of short-circuit current) and Type-2 SPD on the PV input, both earthed.
3) Make connections. With panels covered and disconnect off: strings → PV+/PV−, motor cable → output (U/V/W for 3-phase), float/sensor → protection input. Tighten to torque spec; verify earth < 1 Ω.
4) Prep the pump. Attach check valve (arrow up). Splice cable with adhesive-lined heat-shrink over crimps. Clip safety cable to the lifting eye — never to the power cable. Tie cable to drop pipe every 3 m.
5) Lower the pump. Two-person hoist. Stop at 5–10 m below DWL and ≥5 m above well bottom. Anchor pipe and rope independently, fit sanitary well seal, gland the cable.
6) Commission. Set pump voltage, dry-run delay, pressure set-point. Uncover panels, start with the valve partly closed. Water in 1–5 minutes. Open gradually to avoid water hammer; measure flow and pressure against the curve.
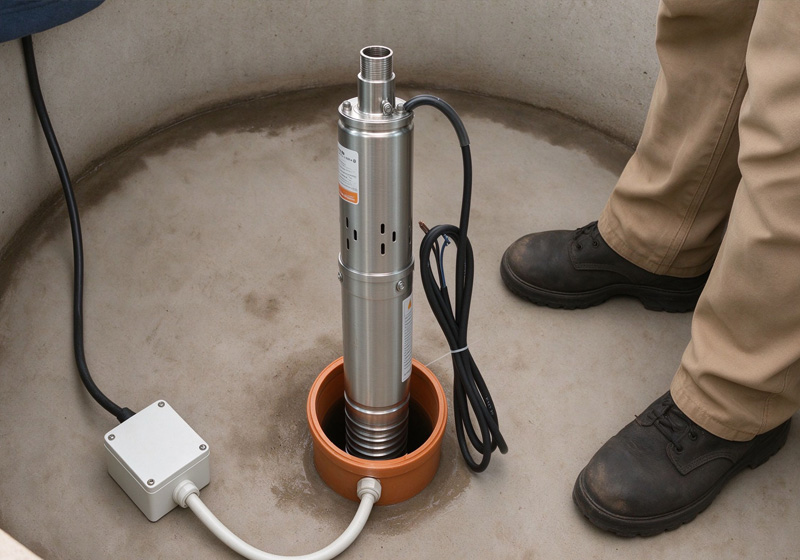
Lowering the pump on a tripod to the correct depth below the dynamic water level.
5. Wiring diagram
Figure 1: PV array → DC disconnect/SPD → MPPT controller → submersible; float sensor stops the pump on high level.
6. Cable sizing (keep voltage drop < 3%)
| System voltage | 0–20 m | 20–50 m | 50–100 m |
|---|---|---|---|
| 24 V DC | 10 AWG | 8 AWG | 6 AWG |
| 48 V DC | 12 AWG | 10 AWG | 8 AWG |
| PV feed | 10 AWG | 8 AWG | 6 AWG |
7. Commissioning checklist
- Electrical: Voc within ±5% of spec; polarity correct; earth resistance < 1 Ω; insulation > 1 MΩ; controller cool under load.
- Hydraulic: flow 85–105% of rated at measured TDH (bucket test: L/h = L × 3600 ÷ seconds); pressure holds; check valve stops backflow; no leaks.
- Baseline: record date, weather, flow, voltage, current, pressure — your future troubleshooting reference.
8. Troubleshooting
No start: check PV voltage at controller input (low = shade/dirty/broken string); read error code; test winding resistance (open = cable/motor fault, near-zero = shorted); confirm dry-run sensor not holding off.
Low flow: re-measure TDH (drawdown often larger than estimated); inspect check valve and discharge valve; check pump voltage (<90% of rated = undersized cable).
Cycles on/off: well cannot keep up — reduce rate or add storage; check intermittent shading, loose connections, controller thermal events.
Cloudy water: normal for ~30 min after install; persistent = pump too close to bottom (raise 5–10 m) or flow pulling sediment (restrict, add 5–20 µm filter).
9. Maintenance
Monthly: clean panels (20–30% output loss when dirty), bucket-test flow, check leaks. Quarterly: inspect connections/grounding, test check valve, measure SWL. Annually: insulation test, panel output check, re-torque terminals, inspect controller for insects/moisture.
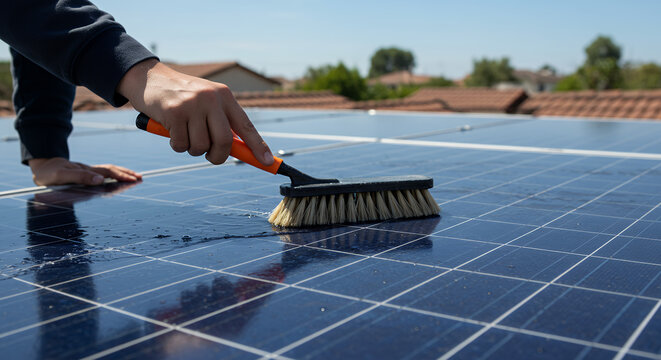
Quarterly panel washing is the highest-return maintenance task.
FAQ
How deep can a solar submersible pump lift water?
Standard DC pumps reach 30–120 m; high-head 3-phase VFD systems reach 200–300 m. The limit depends on motor power, stages, required flow and cable voltage drop.
What size array do I need?
Pump watts × 1.3–1.5. A 1,500 W pump needs ~2,000–2,250 Wp, then confirm runtime from daily watt-hours ÷ peak sun hours ÷ 0.8.
Does it work on cloudy days?
Yes, at 25–70% of rated flow. Oversize the array 30–50% and store 2–5 days of water.
Which certifications should I require?
IP68 on the motor, UL 778 or IEC/EN 60335-2-41 on the pump, IEC 62109 on the controller, IEC 62253 for the set, and NSF/ANSI 61 for drinking water.